
INTRODUCTION
Security is frequently given less priority during discussions related to application development or server setup. Clients tend to only consider security measures after an incident breach has occurred in the applications or server setup. This behavior can be categorized as unfavorable since such incidents can result in data loss or alteration due to the attack vector.
The implementation of security measures and convenience involves a trade-off. Specifically, a highly secure implementation will diminish the convenience of the user experience. To put it simply, if one desires convenience, one may need to tolerate insecurity, whereas prioritizing security requires being prepared for inconvenience.
cPanel and WordPress are among the most popular products for shared hosting and website creation. These platforms offer a range of useful tools for hosting low-traffic websites on shared hosting, including MultiPHP Manager, MultiPHP INI editor, domain creation, WP Toolkit, and more. On the other hand, many clients opt for WordPress to create their websites due to its user-friendly nature.
During this occasion, I will present the security concerns associated with cPanel/WHM as a shared hosting product and WordPress as a content management system (CMS).
Security on cPanel and WHM
The management and control of cPanel can be achieved through the WHM interface. cPanel functions as a regular user within the main server, possessing specific capabilities and restrictions. On the other hand, WHM operates as a root user with control over each regular user within the server. Each scope has its unique set of security measures in place.
Main cPanel Security Measurements
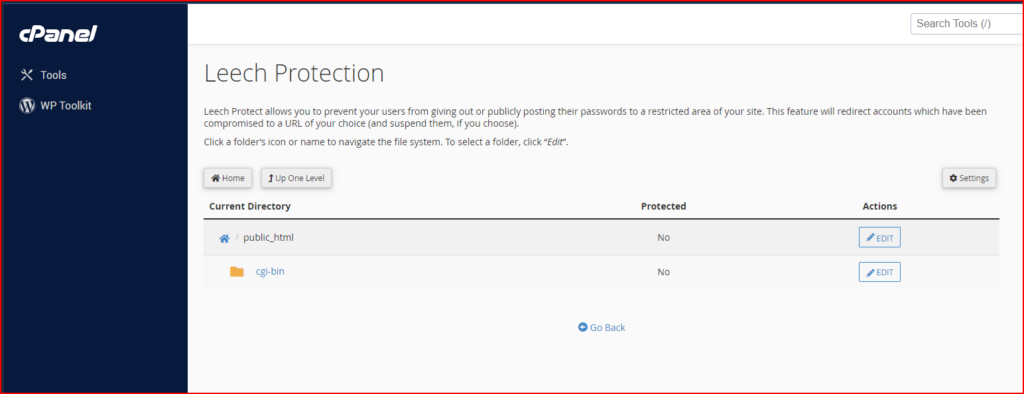
- Hotlink Protection: A hotlink occurs when someone embeds content from your site in another site and uses your bandwidth to serve the files. You can use this interface to prevent this issue. to enable the hotlink protection you can follow the instruction below:
- Click Enable. A new interface will open and display the Allowed referrers and Protected extension lists.
- Click Go back.
- To allow specific sites to hotlink to your site, add their URLs in the URLs to allow access menu.
- To block direct access to files of specific types, add those file extensions to the Block direct access for the following extensions text box.
- For example, to block all
.jpgimages, add.jpgto the Block direct access for the following extensions text box. - When you block these file types, others cannot hotlink to those types of files from your website regardless of any other settings.
- For example, to block all
- To allow visitors access to specific content through the URL, select the Allow direct requests checkbox. For example, if you enable this setting, a visitor could enter
http://www.example.com/folder/example.jpgas a URL to access theexample.jpgfile. - To redirect requests for certain content, enter the URL to which you want to redirect your visitor in the Redirect the request to the following URL text box.
- Click Submit.
- To disable the hotlink protection, just click disable from the cPanel user interface.
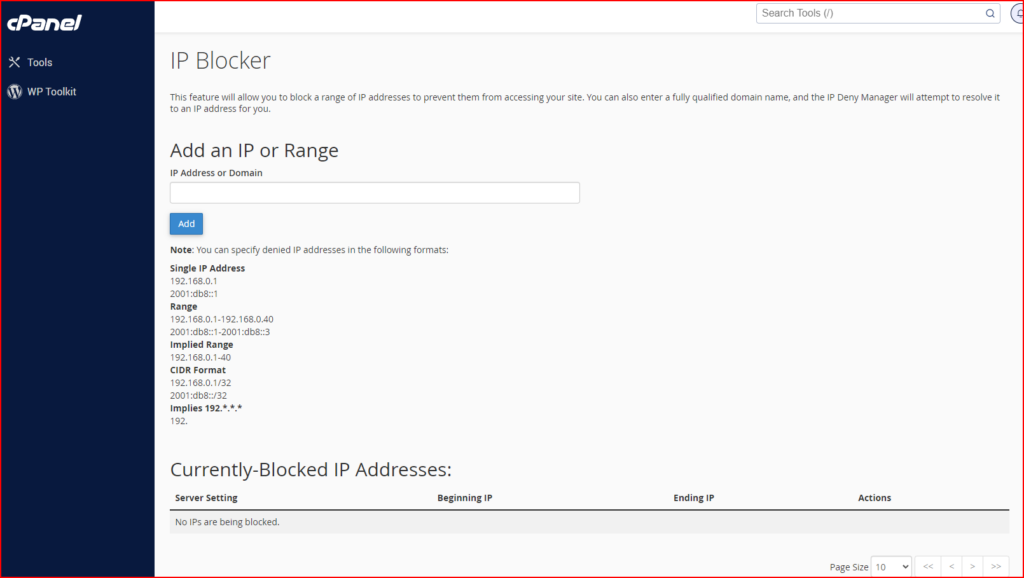
- IP Blocker: The IP Blocker interface allows you to block access to your site for one or more IP addresses or fully qualified domain names (FQDNs).
- Block IP Address, To deny access to an IP address or range of IP addresses, perform the following steps:
- Enter the IP address or range in the IP Address or Domain text box. You can enter IP addresses in any of the following formats:
- Single IP address (for example,
10.5.3.33). - Range (for example,
10.5.3.3-10.5.3.40). - Implied range (for example,
10.5.3.3-40). - CIDR format (for example,
10.5.3.3/32). - Implied IP address (for example,
10.).
- Single IP address (for example,
- Click Add.
- Enter the IP address or range in the IP Address or Domain text box. You can enter IP addresses in any of the following formats:
- Unblock an IP Address, To remove an IP address from the list of blocked IP addresses, perform the following steps:
- Click Delete in the Actions column for the appropriate IP address.
- Click Remove IP.
- Block IP Address, To deny access to an IP address or range of IP addresses, perform the following steps:
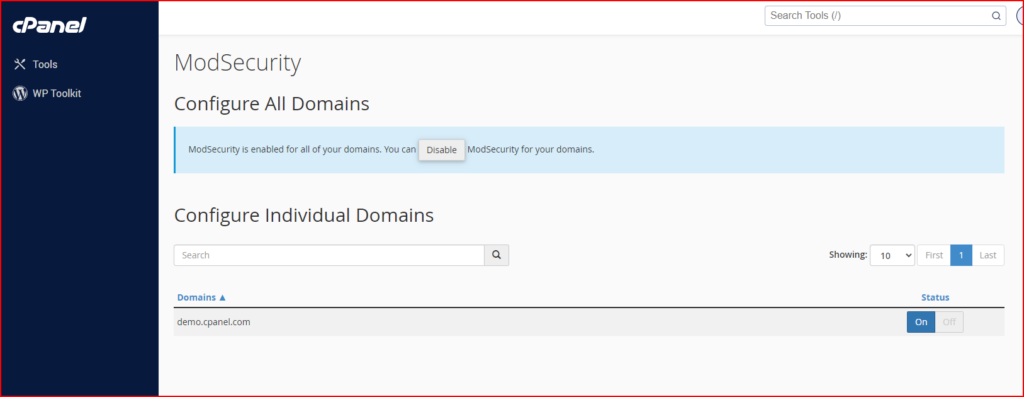
- ModSecurity: This interface allows you to enable or disable ModSecurity for your domains. ModSecurity acts as Web Application Firewall to protect the domain from unintended attacks
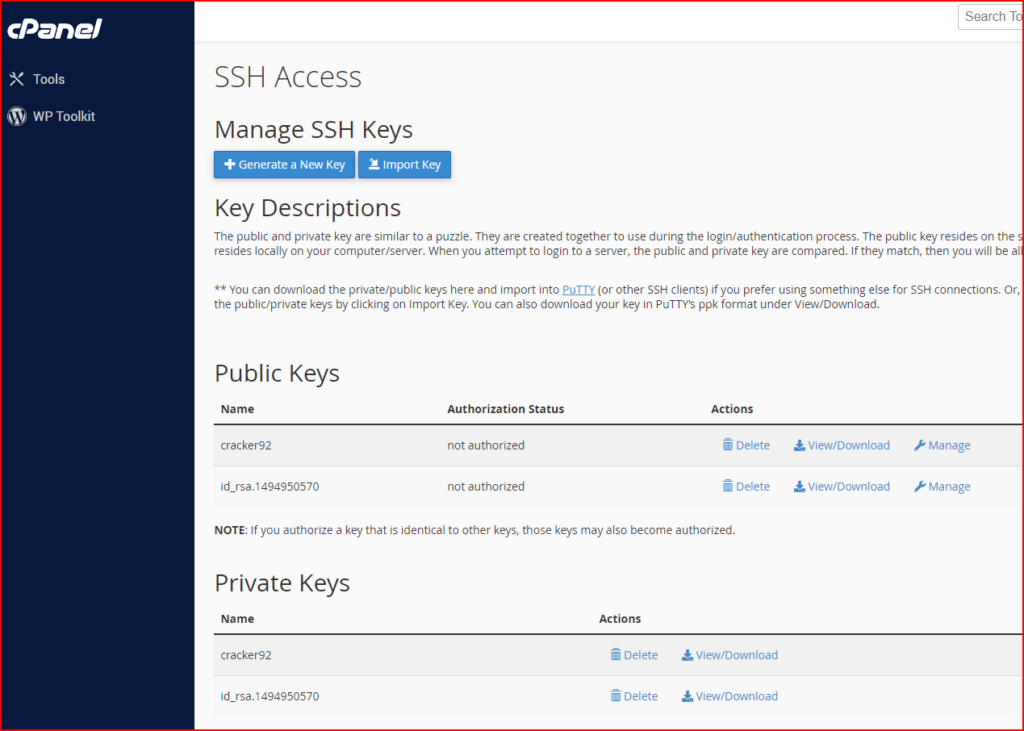
- SSH Access: This interface provides information about how to connect to another web server via the SSH (secure shell) network protocol. Note that all hosting providers allow shell access to their cPanel users.
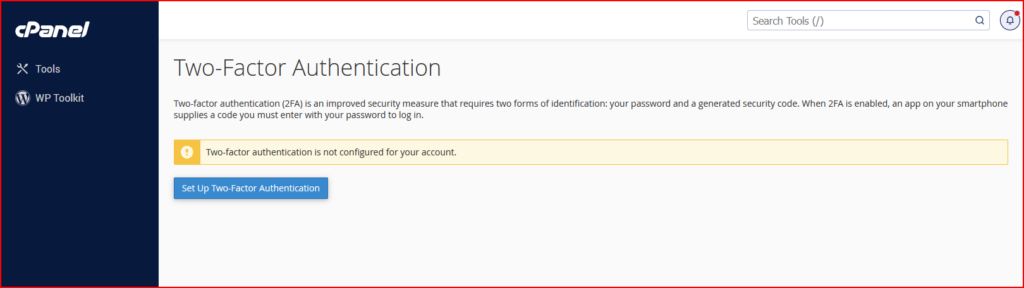
- Two-Factor Authentication for cPanel: Two-factor authentication (2FA) is a security measure that requires two forms of identification.
- Configure 2FA, to configure 2FA, perform the following steps:
- Click Set Up Two-Factor Authentication.
- Link your cPanel account and your 2FA app:
- To automatically create the link, scan the displayed QR code with your app.
- To manually create the link, enter the provided Account and Key information in your app.
- Within your 2FA app, retrieve the six-digit security code
- Configure 2FA, to configure 2FA, perform the following steps:
Main WHM Security Measurements
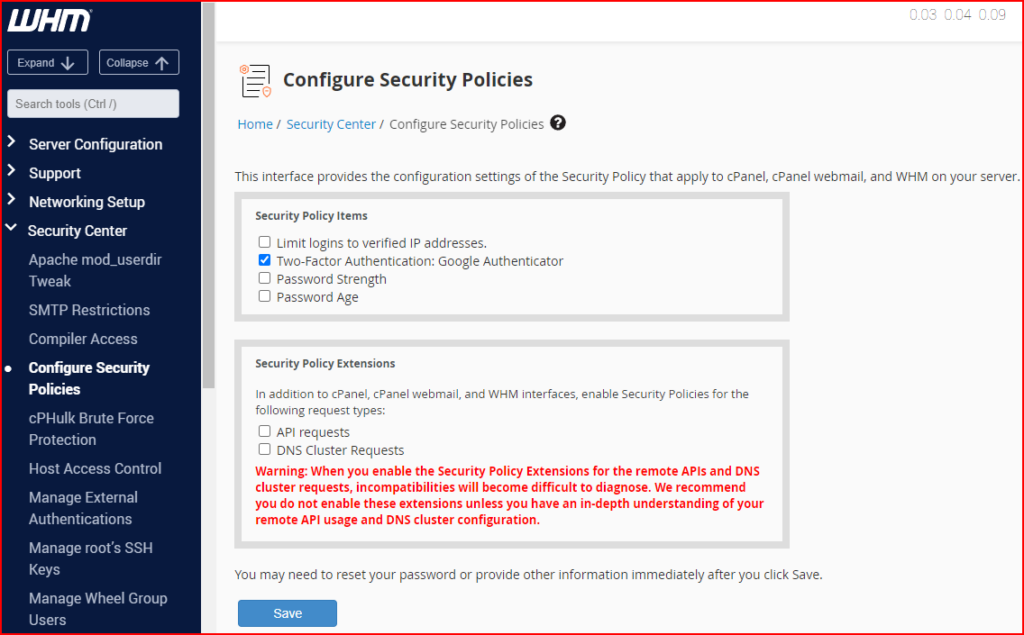
- Configure Security Policies: The Configure Security Policies interface allows you to configure your security policy settings and security policy extensions.
- Limit logins to verified IP addresses — This setting determines whether to require users to answer security questions when they log in to their cPanel, Webmail, and WHM accounts from unverified IP addresses.
- Two-Factor Authentication: Google Authenticator — This setting determines whether to require users to additionally enter a generated security code from a time-based one-time password (TOTP) app on a smartphone.
- Password Strength — This setting enforces a minimum password strength for cPanel, Webmail, and WHM users.
- Password Age — This setting allows you to specify the number of days to allow cPanel, Webmail, and WHM users to use the same password. When you select this checkbox, the Maximum password age (in days) text box appears. Enter the maximum number of days to allow users to use the same password.
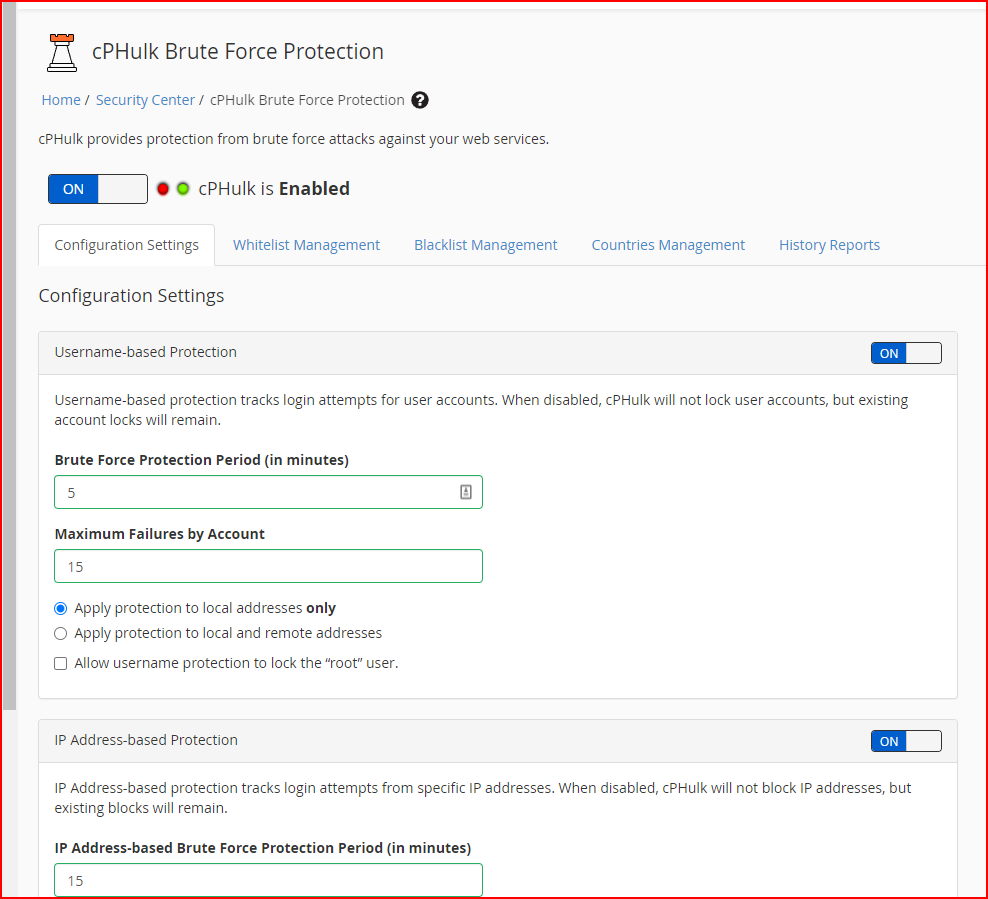
- cPHulk Brute Force Protection: This interface allows you to configure cPHulk, a service that provides protection for your server against brute force attacks. A brute force attack uses an automated system to guess the password of your web server or services. cPhulk monitors the following web servers and services:
- cPanel services (Port 2083).
- WHM services (Port 2087).
- Mail services (Dovecot and Exim).
- The Pure-FTPd service.
- Secure Shell (SSH) access.
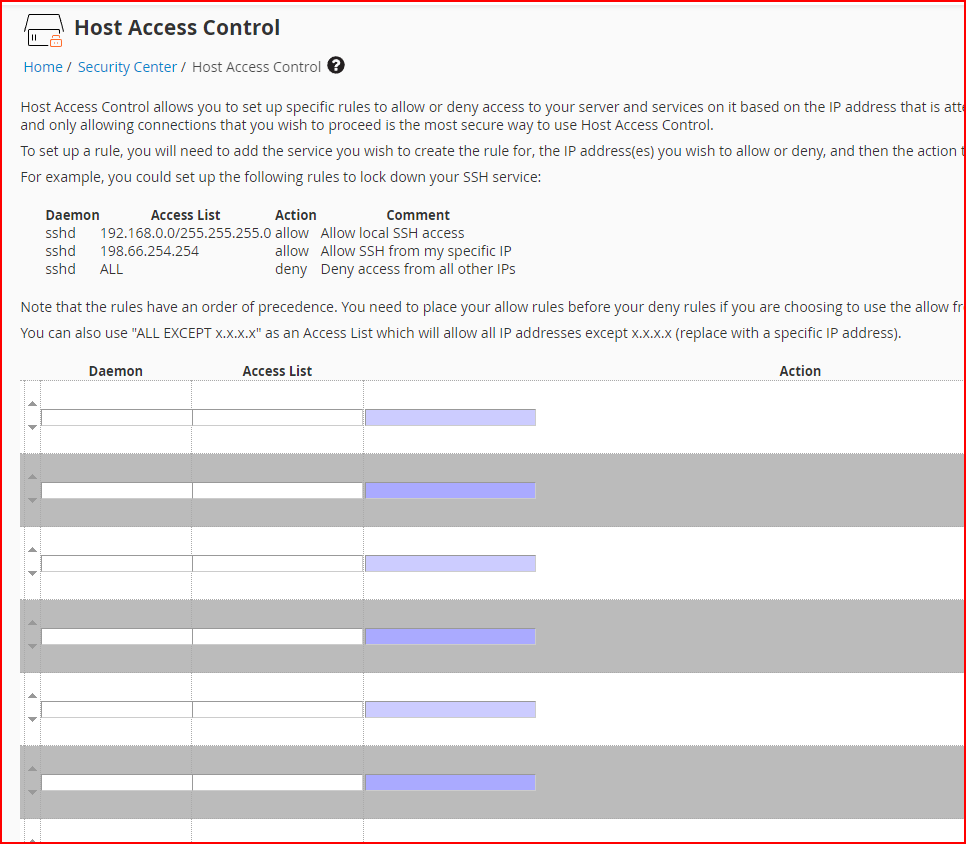
- Host Access Control: Use the Host Access Control interface to allow, reject, or drop access to the following services for specific IP addresses:
- cPanel
- WHM
- Webmail
- Web Disk
- FTP
- SSH
- SMTP
- POP3
- IMAP
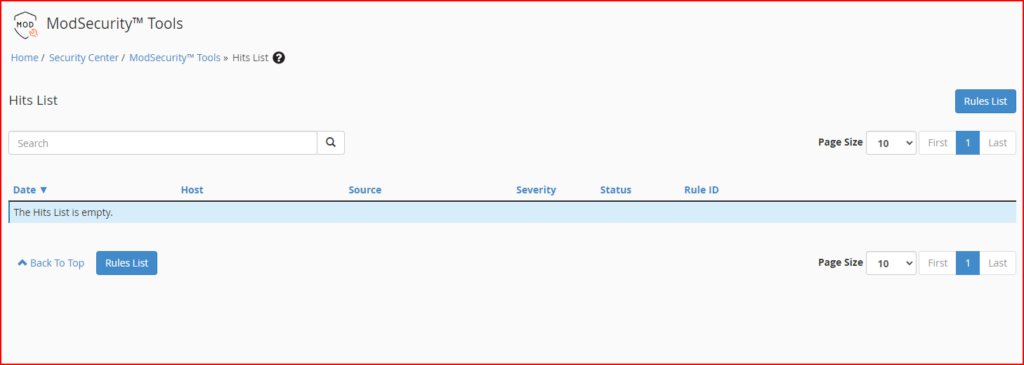
- ModSecurity® Tools: The ModSecurity® Tools interface allows you to install and manage ModSecurity rules.
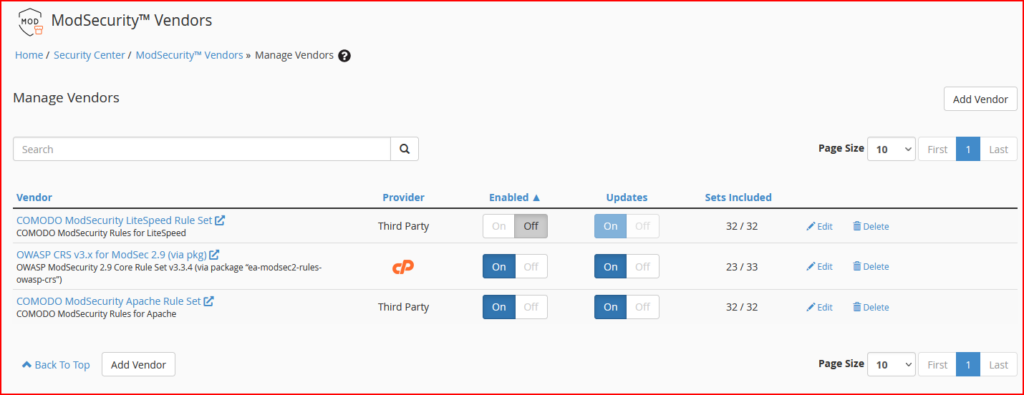
- ModSecurity® Vendors: The ModSecurity® Vendors interface allows you to install and manage your ModSecurity vendors. Make sure to install the minimum vendors for ModSec like the following example:
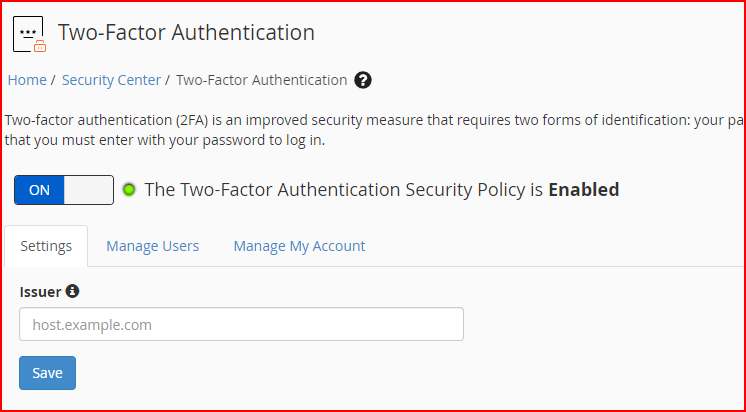
- Two-Factor Authentication for WHM: This function allows you to configure two-factor authentication (2FA), a security measure for the login interface of cPanel & WHM. Two-factor authentication requires two forms of identification. After you enter your password, you must enter a security code. An application on your smartphone supplies this code. Without your smartphone, you cannot log in.
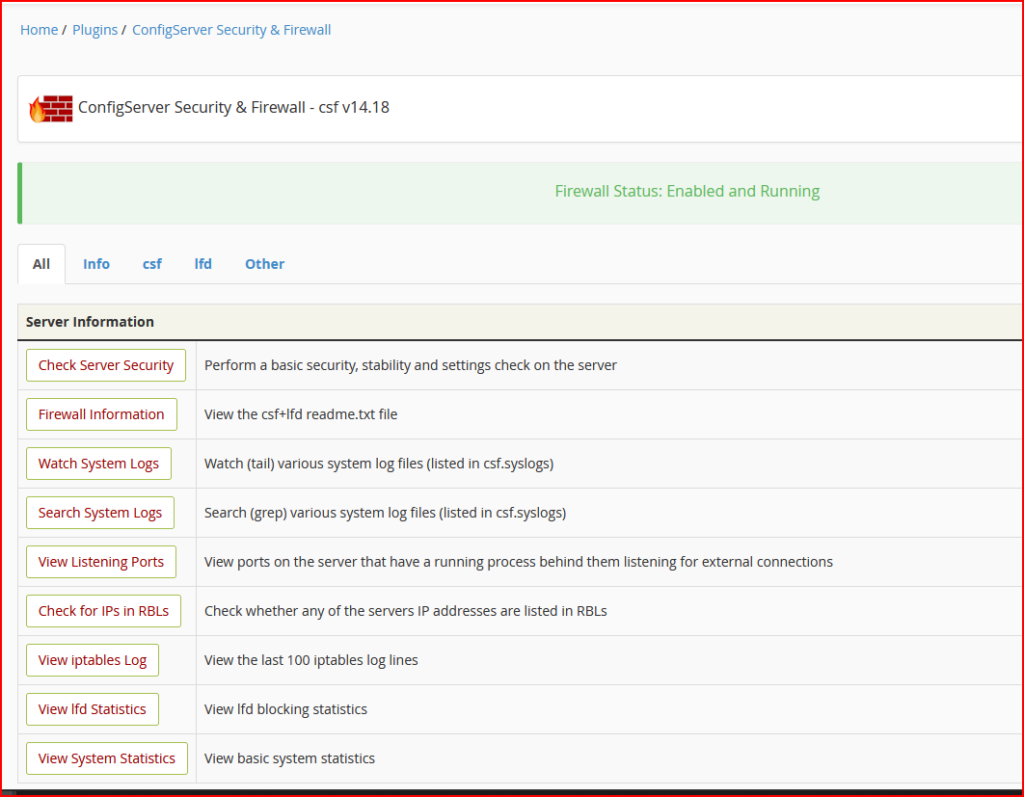
- Installing CSF Firewall: CSF contains a stateful packet inspection (SPI) firewall, a login and intrusion detection mechanism, and a general security application for Linux servers. CSF can block IPs based on the country code and also has the capability to protect against brute force attacks.
Security on WordPress
WordPress if not maintained periodically can do harm to the website and the hosting provider. The impact of compromised websites is as follows:
- Outgoing SPAM mail: When a compromised WordPress website is hosted on a shared hosting account, it can send numerous spam emails to external recipients. This activity negatively impacts the IP reputation of the shared hosting and leads to a backlog of deferred emails for the responsible user. Consequently, the shared hosting provider may issue a termination notice as a result of these circumstances.
- Defaced Websites, Phishing, and Unsafe-sites: By exploiting vulnerabilities, the attacker has the ability to deface the display of WordPress. Additionally, the compromised WordPress can serve as a primary source for web phishing, which can result in Google issuing warnings about unsafe sites.
- Unwanted User Activity: Using the hacked WordPress website, the attacker can modify the cPanel user password, generate emails, and implant a backdoor for future utilization.
Main Security Measurements for WordPress
In order to counter the security breach attempt by the attacker, the WordPress developer (owner) should undertake the following actions at the very least:
- Keeping WordPress and Plugins Up to Date: Updating WordPress and its plugins helps to fix any vulnerabilities that may have been present in older versions. It is essential to ensure that your WordPress core, plugins, and theme are kept up to date.
- Strong Passwords and User Permissions: be sure to make a strong credential password with the minimum complexity needed across the software and dependency stack such as an FTP account, hosting account, database user, and email account.
- Plan a Backup Solution: Always make a backup plan for your data regularly either at the shared hosting account level or independent backup
- Install the Necessary Security Plugins: You may find them on the following list.
Conclusion
Security Implementation and user convenience always have a trade-off between them. To balance the scale, be sure to have throughout consideration between the pros and then cons of having an optimum value of them.
Leave a Reply