
In the previous article, we have learned how to install Rancher and deploy Kubernetes. Now, we will deploy the application in Rancher.
Other than using Rancher web UI, we can use cli commands to manage our Kubernetes cluster.
We need to install kubectl in the server. Please run the command below to install kubectl:
snap install kubectl –classic
After installation is completed, we need to download Kubeconfig from Rancher.
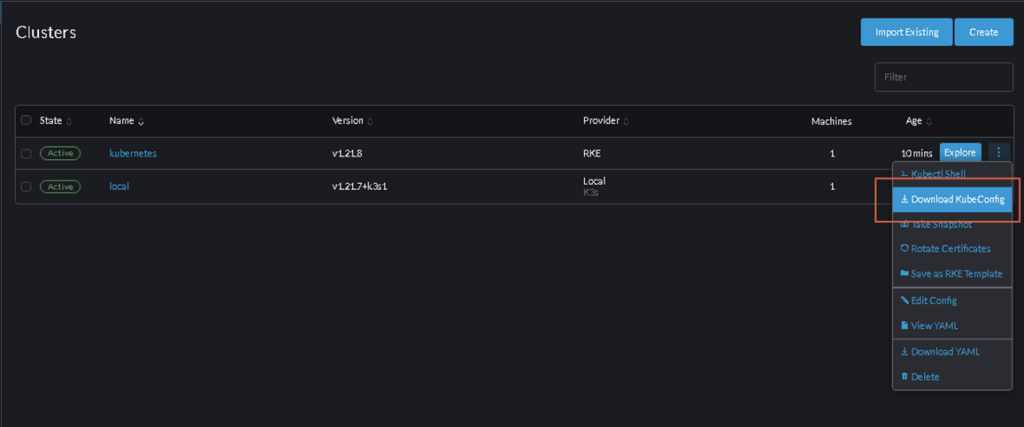
Insert the kubeconfig from rancher to /root/.kube/config
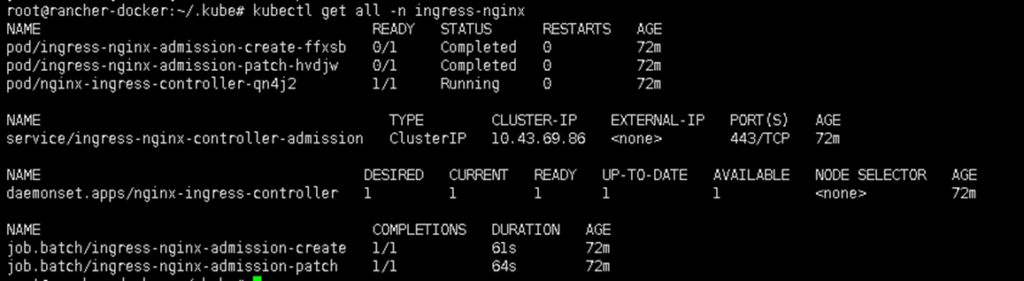
Now we are ready to deploy a simple application in Rancher using Nginx Ingress. Make sure pods nginx ingress controller is running
Create Project
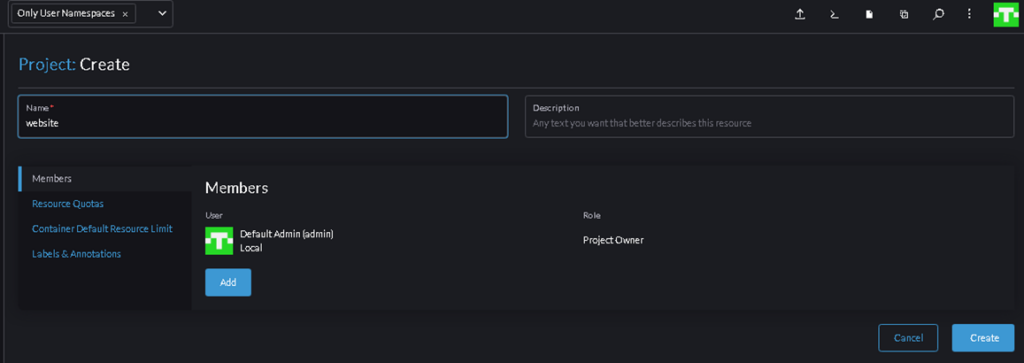
To avoid any confusion and organize the application when we deploy our application, we need to create a Project inside rancher.

Fill the field as follow
Name: website
then click Create
Create namespace nginx
After Project has been created, we create a namespace where the application will be deployed

Deploy Application
Here, we will create a simple website using nginx with hostname nginx.settingserver.com
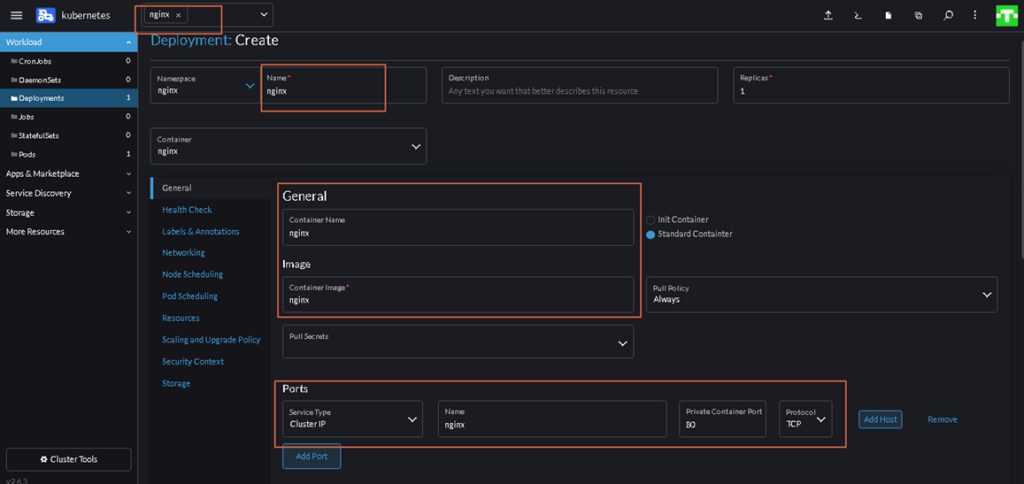
Make sure we are working on Namespace nginx
Click Deployment
Name : nginx
Container Name: nginx
Container Image : nginx
Port :
Service Type: Cluster IP
Name : nginx
Private Port : 80
Protocol : TCP
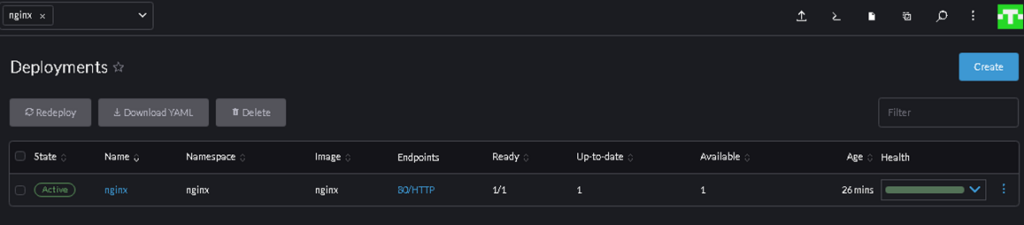
After the pods have been created with State status Active in Deployment. We can continue to create ingress
Still in the namespace nginx – Service Discovery – Ingresses

Fill the field as below screenshot
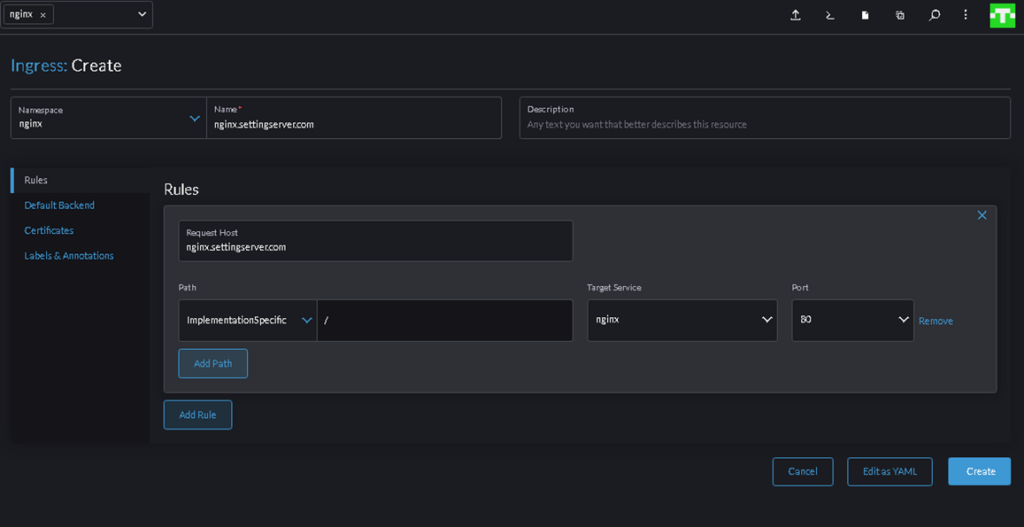
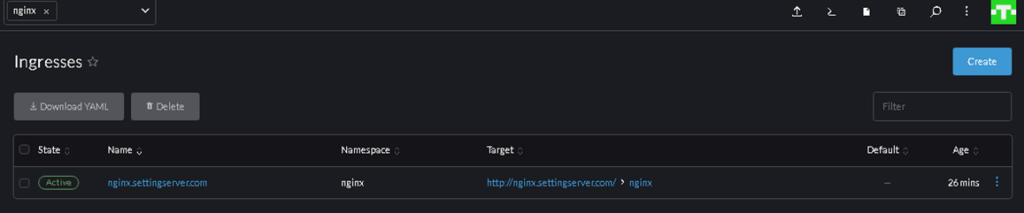
After we click Create, make sure our ingress nginx.settingserver.com is Active
To verify our ingress, we can use a Local resolver
publicIP-Address nginx.settingserver.com
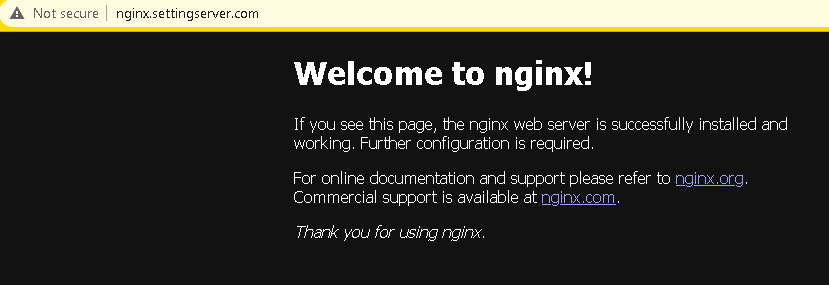
Viola, now our application is ready to use.
Leave a Reply