
Rancher based on their website said is the complete software stack to adopting containers. Rancher can manage Kubernetes with nice UI via a web browser.
For production use, we should install Rancher with High Availability but for testing purposes, we can install rancher in a single node by running a single Docker Container. Here, we will install the latest version of Rancher 2.6 in Ubuntu 20.04
Install Docker.
In the first step, we will install Docker on the server using the following command :
# sudo apt-get update && sudo apt-get install apt-transport-https ca-certificates curl software-properties-common -y
Add GPG key to ensure the authenticity of the software package
# sudo curl -fsSL https://download.docker.com/linux/ubuntu/gpg | sudo apt-key add -
Now, we can add Docker repository to our server then install the stable docker version using the following command :
# sudo add-apt-repository "deb [arch=amd64] https://download.docker.com/linux/ubuntu $(lsb_release -cs) stable"
# sudo apt-get update && sudo apt-get install docker-ce containerd.io –y
Install Rancher with Persistent Data
Rancher is using etcd as datastore, the config will be kept remain in our local disk if we destroy the docker container.
Below is the command to install rancher with persistent data:docker run -d --restart=unless-stopped \
-p 8080:80 -p 4430:443 \
-v /opt/rancher:/var/lib/rancher \
--privileged \
rancher/rancher:latest
Since we will install rancher and add Kubernetes In single node, we recommended changing the default port of rancher. Because this will conflict with nginx ingress controller on ports 80 and 443. In this tutorial, we change the rancher port 8080:80 and 4430:443
After rancher docker is started, we can access the rancher UI using https://IP _Public:4430
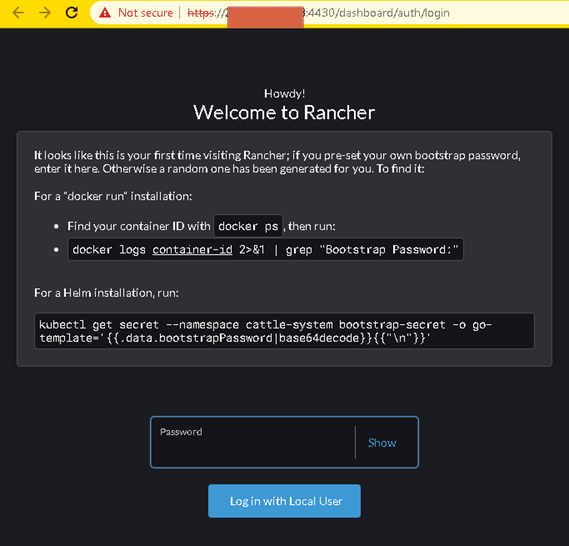
Rancher needs bootstrap password for the first installation. We can get the bootstrap password by the following command
# docker ps a
# docker logs container-id 2>&1 | grep “Bootstrap Password”

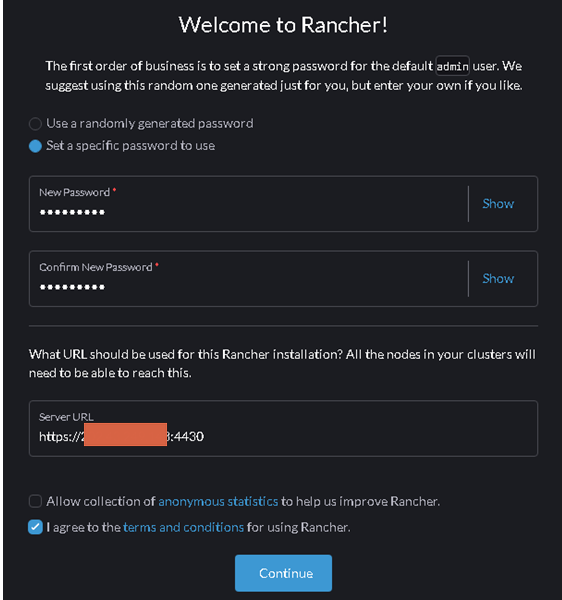
Next window, we can set our password for Rancher
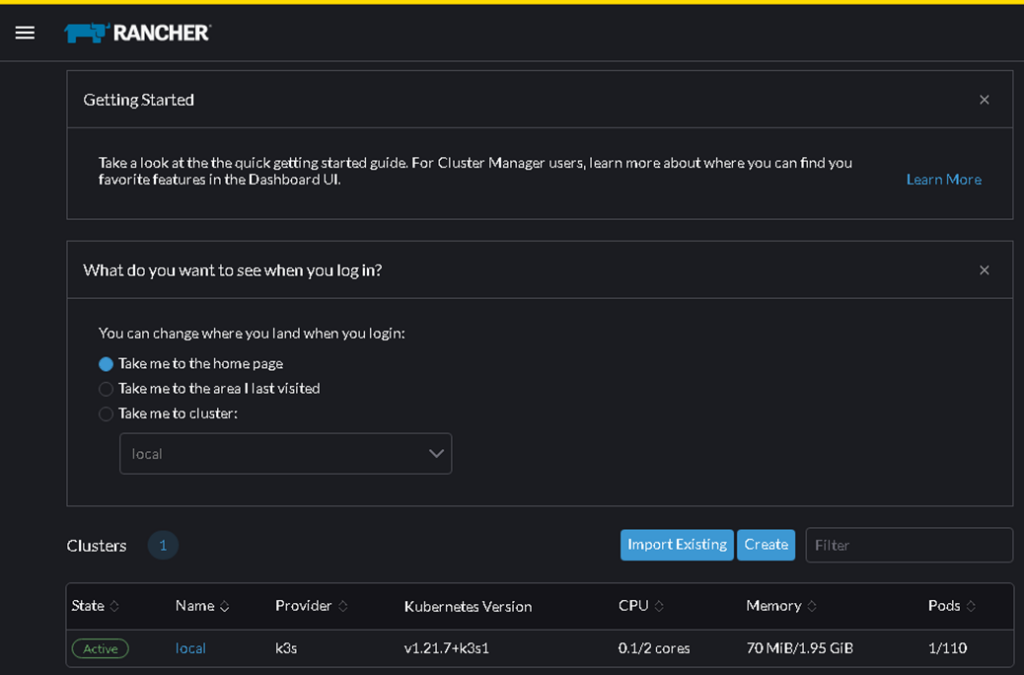
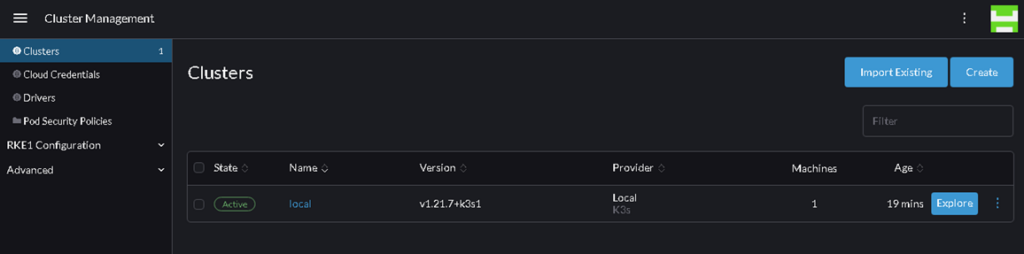
Below is the dashboard of rancher after we successfully login
Add Kubernetes to Rancher
Next step we will add the Kubernetes cluster to Rancher. Choose Global Apps – Cluster Management
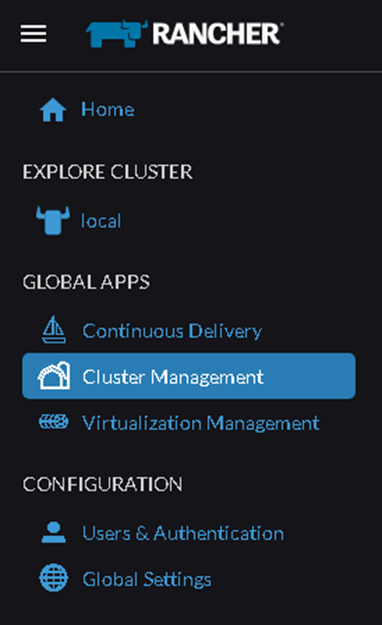
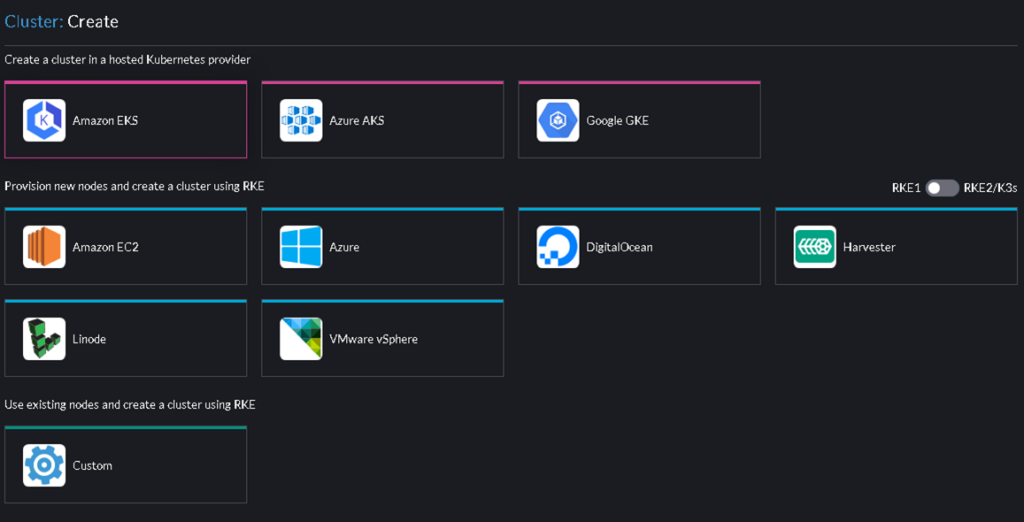
On the right pane, click Create button to add Kubernetes cluster
In the new Windows, please choose Custom using RKE1
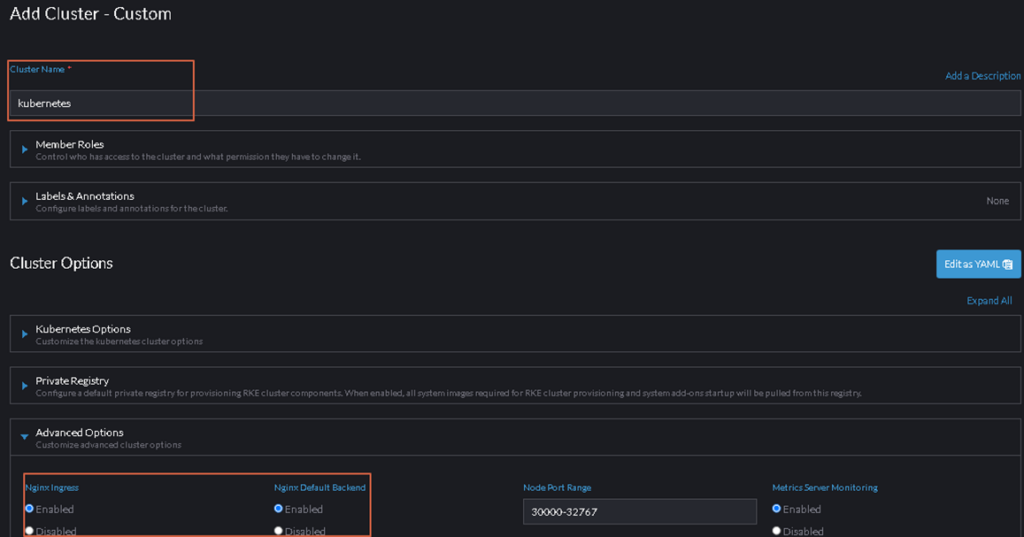
In the new Windows, please fill the value as follow:
Cluster Name: kubernetes
Nginx Ingress : Enabled
Nginx default backend: Enabled
On the next windows, tick etcd, control plane and worker because we will install all role on a single node. Copy the script on the bottom of the windows then paste it to the server. Please wait until Kubernetes Cluster is ready
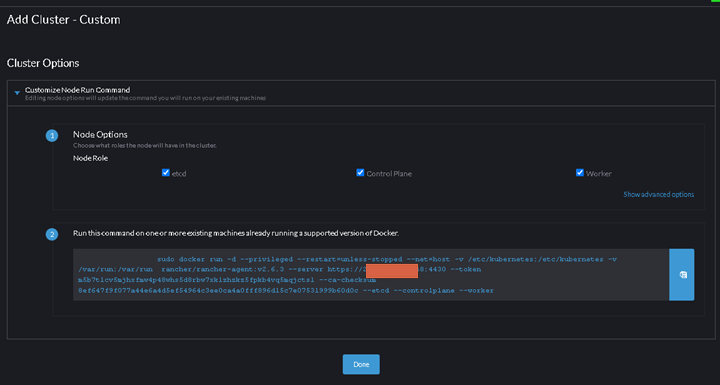
Then click Create, wait for a moment to install Kubernetes to the server
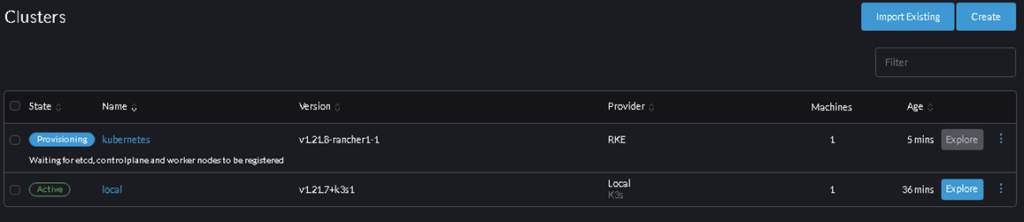
If the State is Active, it means our Kubernetes is ready
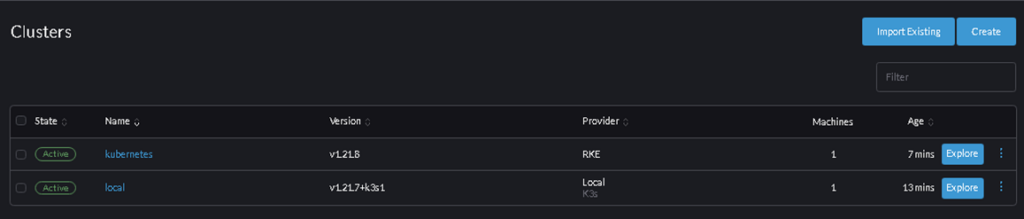
Now, we are ready to deploy our application in kubernetes.
Please don’t hesitate to contact us if you have any questions
Leave a Reply